| These cliff splines are
designed to assist the modeller in creating more realistic terrain
than TRAINZ offers. However they cannot simply be "dropped" into place. To
achieve the most realistic result, care and patience is needed when placing the cliffs and
moulding the terrain around them. The more time spent, and care taken, in doing this will
be reflected in a higher standard of presentation While the merging is important it is also important to use your
imagination and refer to real scenery to see how the cliffs can be mixed and matched to
obtain very impressive and realistic cliff faces. Also, if you purchased the
Cliffs/Ledges/Rocks combo, take time to look closely at the "Clifton" sample
layout for inspiration, for ideas and for examples of what can be achieved with
experience. |
|
|
|
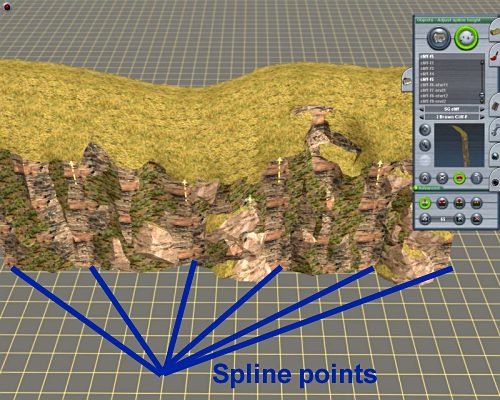
| NOTE When
inserting cliff splines the location of the "spline points" is important for
height and position manipulation. If you cannot see the yellow spline lines, when in the
Spline editing menu of Surveyor, you will need press Ctrl-O to toggle the spline points
on. |

CONSTRUCTING
A CLIFF
|
 |
 |
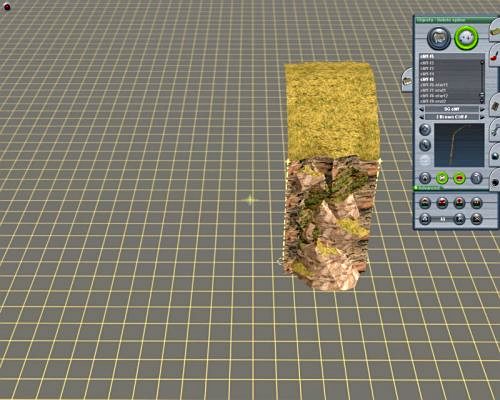
| STEP
1 |
Start by inserting a cliff
spline section. (Each section is approximately 4.5 grid lines long) |
|
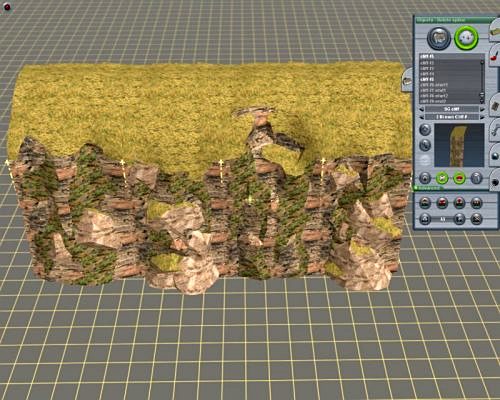
| STEP
2 |
Add additional spline
sections. Mix the different splines randomly and avoid stretching a spline so that it
auto-repeats. (this step is not
applicable for freeware sample as on;y one spline section available) |
|
 |
 |
| STEP
3 |
Adjust the spline point
heights up or down to match your terrain requirement |
|
|
|
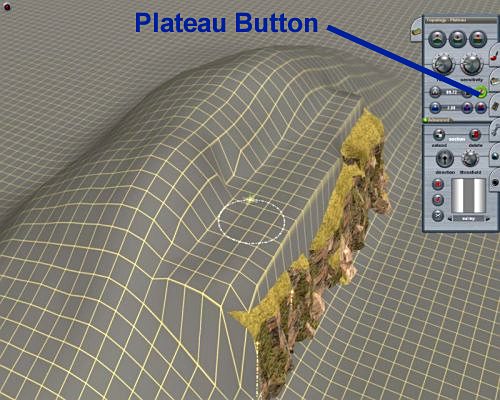
| STEP
4 |
Using the "Plateau"
button lift the terrain just above the top of the cliff. Create the plateau as close to
the front of the cliff as possible without the terrain appearing through the front of the
cliff. |
|
 |
 |
| STEP
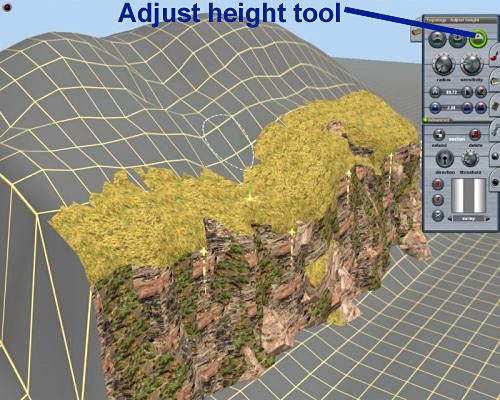
5 |
Using the "height
adjust" tool with the smallest radius pull the terrain "plateau" down until
the terrain just feathers the cliff slope face. Avoid a straight edge if possible
(EXERCISE AS MUCH CARE AS POSSIBLE TO CREATE A SMOOTH OVERLAP) |
|
| STEP
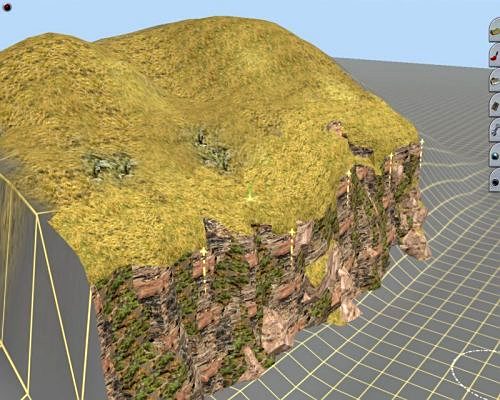
6 |
Texture the terrain to merge
in with the cliff terrain. |
|
ERASING A
CLIFF SPLINE
|
 |
| To
erase a cliff spline pick the spline at a point just in front of the top of the cliff
(between the spline arrow heads) |
|
|
|
IMPORTANT TIPS
- When you first use enter Surveyor you may
experience some delay with the Basic, End and Start sections appearing on your screen once
placed. This delay is dependant on the speed of your hard-drive and the amount of content
that you are loading into memory. ONCE ALL CONTENT HAS BEEN PLACED INTO MEMORY THIS DELAY
WILL CEASE.
- If you want to start (or end) your spline
close to the end of an "existing" spline, BUT DON'T WANT TO CONNECT TO THE
EXISTING SPLINE, hold the "Shift" key down to keep them separate.
- When picking spline points close to
existing splines (including track) hold the "shift" key down otherwise the
spline point you pick will not work.
|
|
|


